


Overview
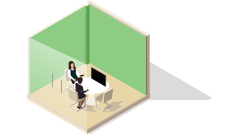
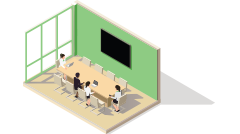
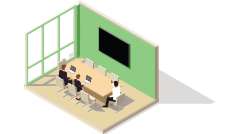
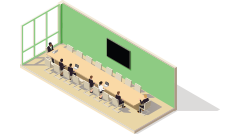
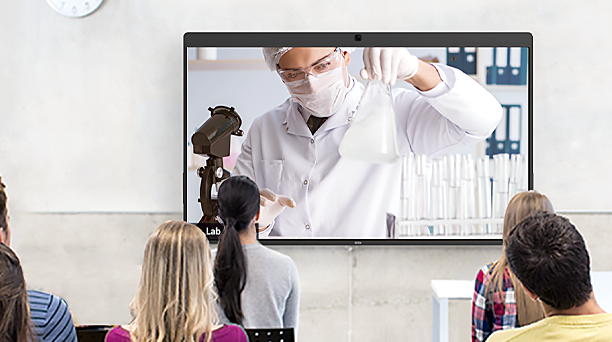
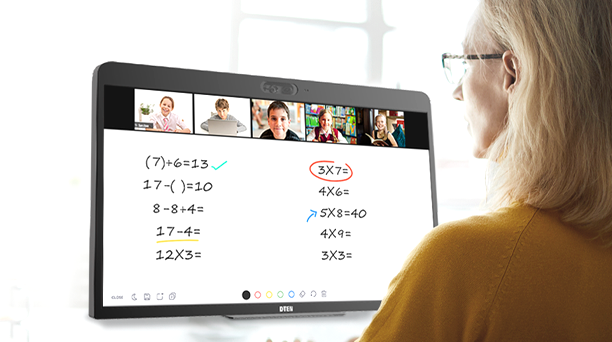
InclusiZone for video (aka Video Boundary) is designed to resolve the problem of capturing people who walk by a glass-walled room during a meeting. When meetings are held in such rooms, people passing by can be seen on the camera, which can be distracting and disrupt the meeting. InclusiZone helps by focusing the camera only on the people in the meeting, making sure that only the relevant participants are recorded. This way, the meeting stays private and free from distractions.
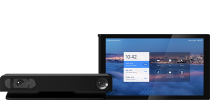
Supporting Product
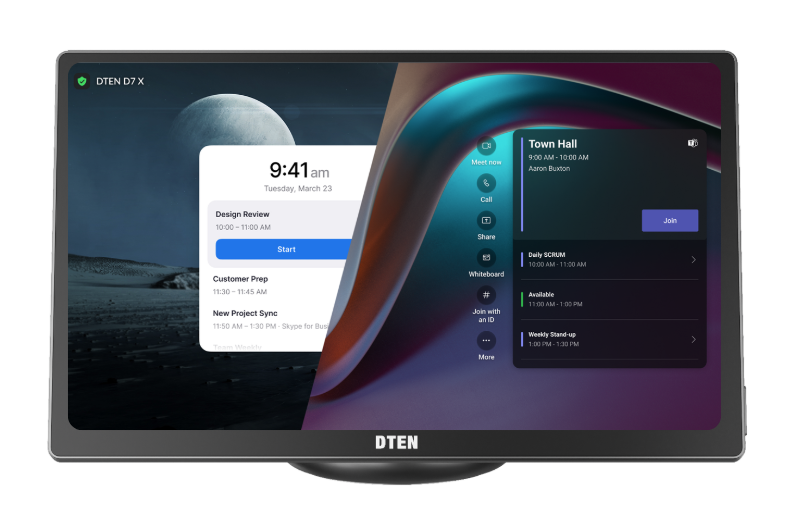
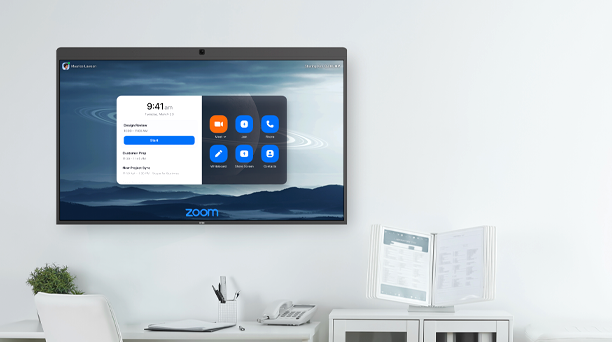
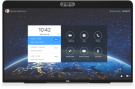
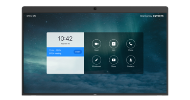
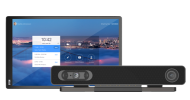
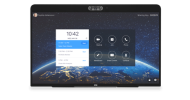
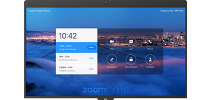
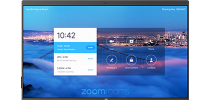
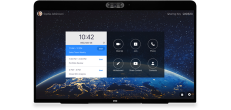
- DTEN D7X Windows 55 & 75 Single Screen
Designed Use Case
When the user is holding a meeting in a glass-walled room, he wants to ensure that the camera only captures the participants inside the room so that we can avoid distractions and maintain privacy.
InclusiZone technology solves this problem by focusing the camera solely on the people in the meeting and filtering out passersby who might be visible through the glass walls. This ensures that our meetings are free from interruptions.
This feature applies to DTEN Framing modes such as Auto-framing, multi-stream, and multi-focus.
Setup Instructions
Prerequisites
- D7X Windows version 3.9.1 and above.
- A DTEN Orbit Pro license is required.
Step-by-step instructions
Before using InclusiZone, you need to perform the following steps in Orbit:
- Log in to Orbit and confirm that the device has an active Orbit Pro license.
- Navigate to Device Settings or Tenant Settings > Camera Settings > InclusiZone.
- Enable the InclusiZone feature.
Note: Enabling InclusiZone in Orbit only allows the feature to appear on the device. It does not activate the functionality itself.
Device Settings:
Tenant Settings:
After completing the steps in Orbit, proceed with the following actions on the device:
- Press the hard key on the back of the device to open the Dashboard interface.
- Select Settings from the Dashboard.
- Go to 'InclusiZone' under Camera Settings
- We support two methods for setting the InclusiZone boundary.
-
Method 1 - Measure Your Zone
If you know the length and width of your meeting room, you can use this method to set it up quickly.- Click Measure Your Zone
- Adjust the slider to the corresponding distance based on the length and depth of the meeting room.
- Walk around outside your glass room to confirm that the distance you set is effective. Red indicates outside the set area, and green indicates inside the set area. Note: There may be some degree of error.
- Click Measure Your Zone
-
Method 2 - Draw Your Zone
If you don't know the length and width of your meeting room, you can use this method to set it up.- Click "Draw Your Zone" to start. In this setup method, we need to determine the intersection line between the tabletop and the meeting room's walls and use this as a reference to set its boundaries.
- In the InclusiZone interface, drag the four corners according to the prompts, making them coincide with the four corners of the conference room table, and then click 'Next'.
- Follow the prompts to drag the adjustment bar, aligning the grid lines with the tabletop's perspective angle. They will appear to be on the same plane.
Note: Boundary settings may have a margin of error and vary depending on the environment.
- Walk outside your glass room to verify that your distance is appropriate.
- Red indicates areas outside the designated zone.
- Green indicates areas within the designated zone.
- Keep in mind that some degree of error may be present.
- Click “Save” to store the configured zone. This setting will be applied when using Auto Framing, Smart Framing, and Smart Gallery features.
-
Method 1 - Measure Your Zone
Q & A
Q: Do Vue Pro or Vue support setting InclusiZone?
A: Currently, only the main camera supports setting InclusiZone. Vue and Vue Pro do not support this yet.
Q: Will InclusiZone settings be supported on other products?
A: InclusiZone settings are already supported on ME/D7X 27.
Known Issues
Boundary settings may have a margin of error and vary depending on the environment.
If you encounter any problems during the forced factory reset process, please contact DTEN support team [How to contact DTEN Support] for further assistance.
Comments
0 comments
Article is closed for comments.