

Overview
This article provides detailed instructions on the unboxing and setup steps for the D7X 27. You may refer to it to complete the unboxing process for your D7X 27.
Navigating the Welcome Screen
Select language.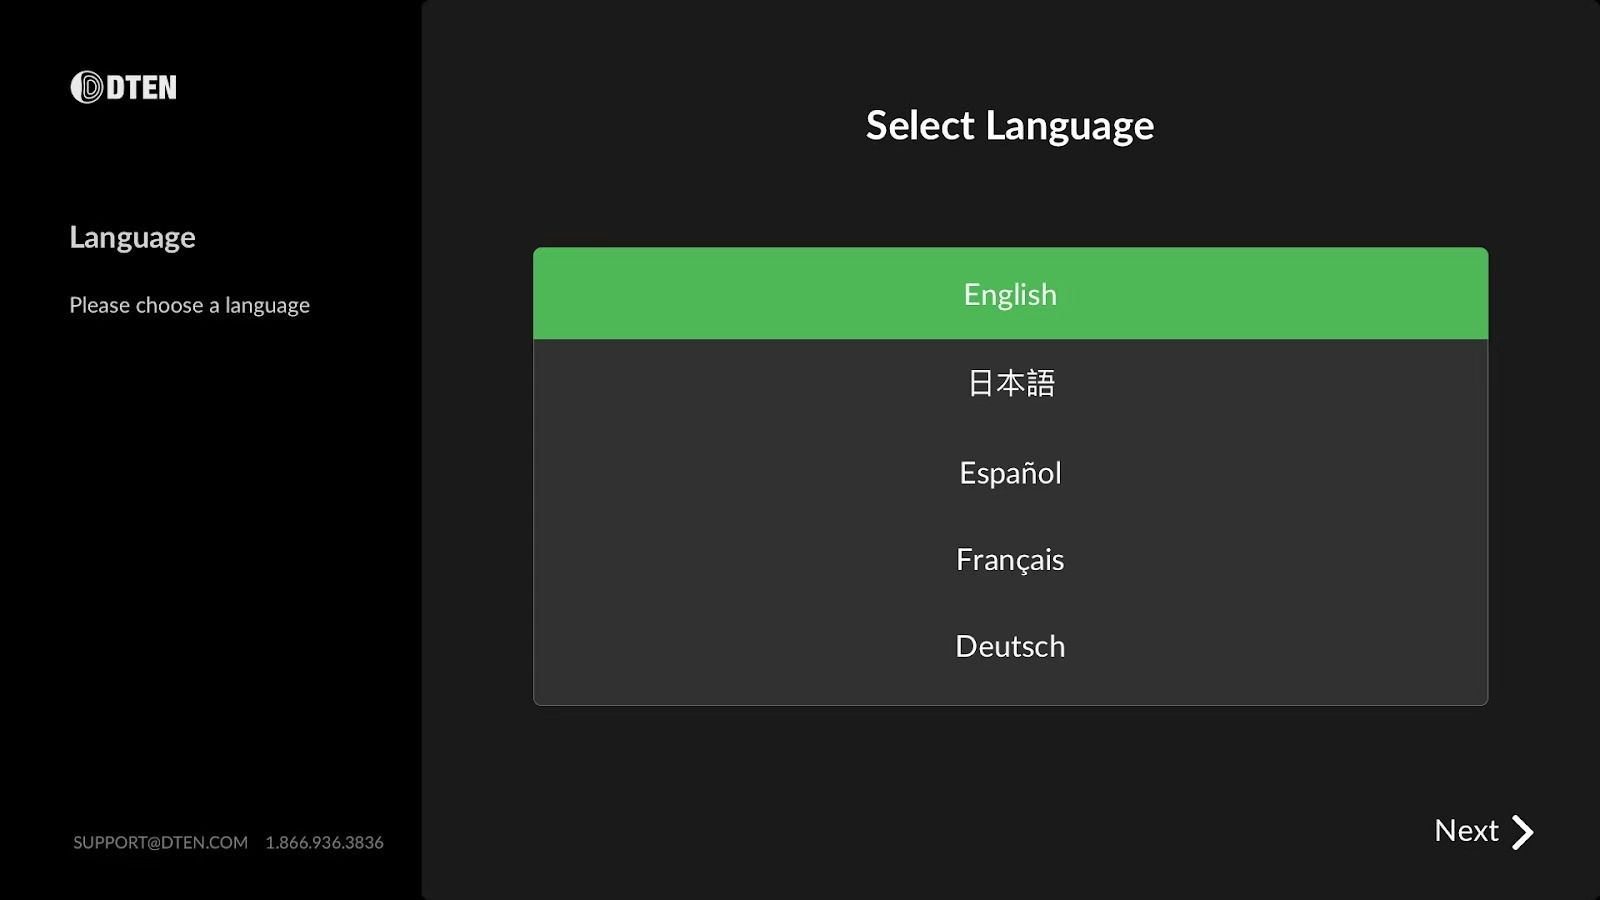
Network & Advanced Security Deployment
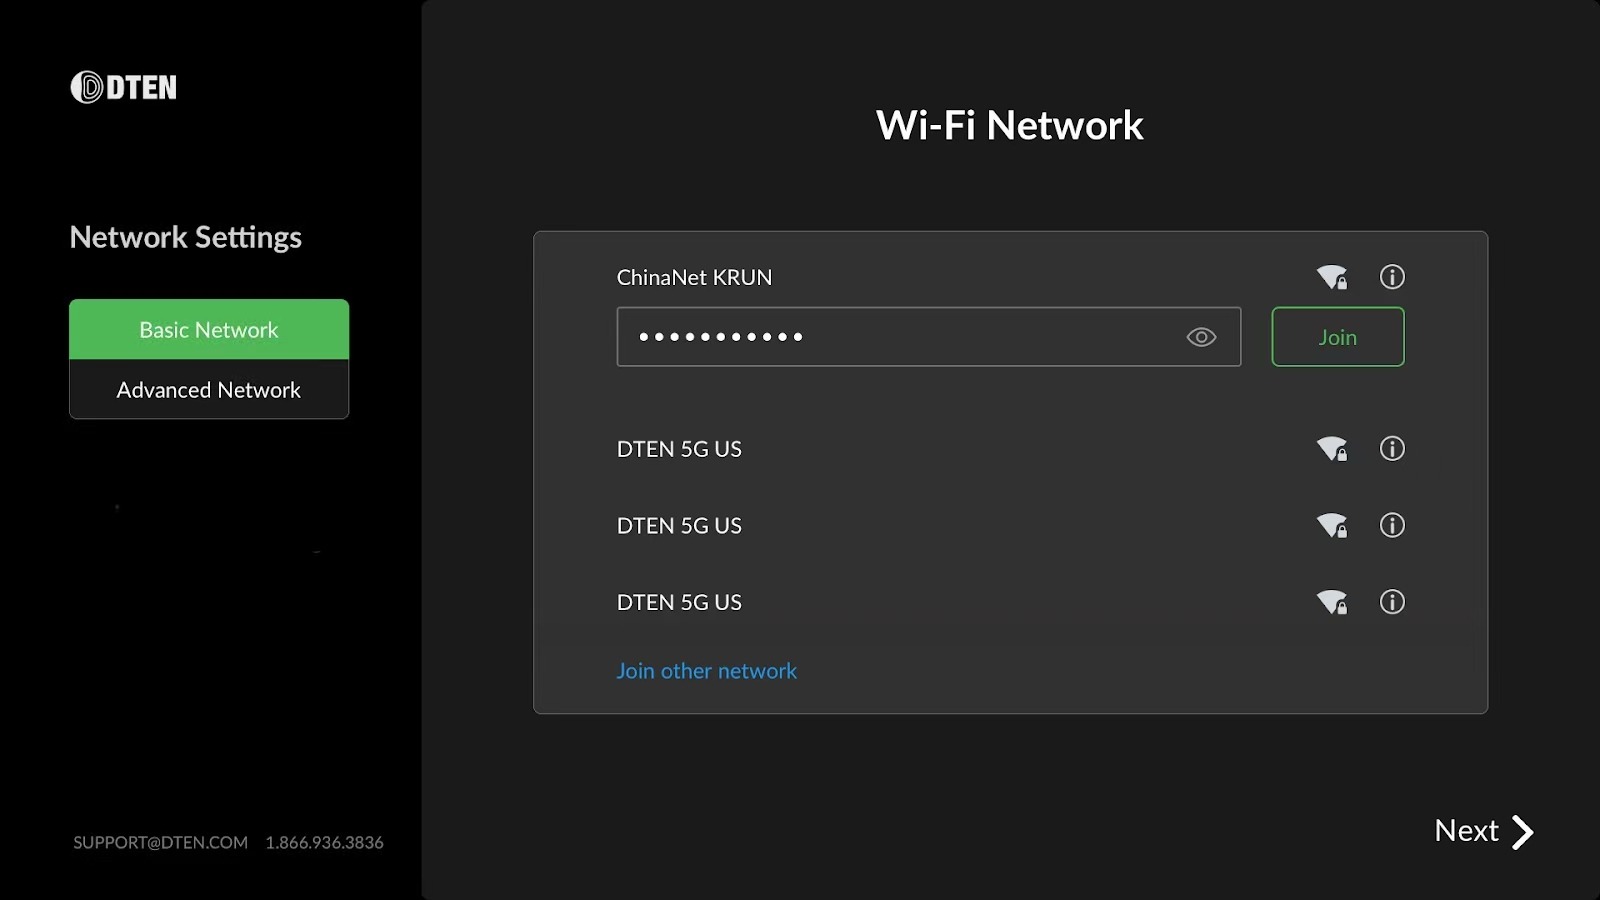
1. Network Provisioning
We recommend connecting your device to a wired network. However, you can also click "Select Wi-Fi Network Instead" to connect via Wi-Fi.
2. Advanced Network Setup
In the advanced network settings, you can configure proxies and IP configurations. After finalizing these settings, please click “Save” and “Next” (or press OK button ) to move on to the subsequent step.
Additionally, you can click "Next" to bypass this step temporarily and configure your network settings later via the device's settings page.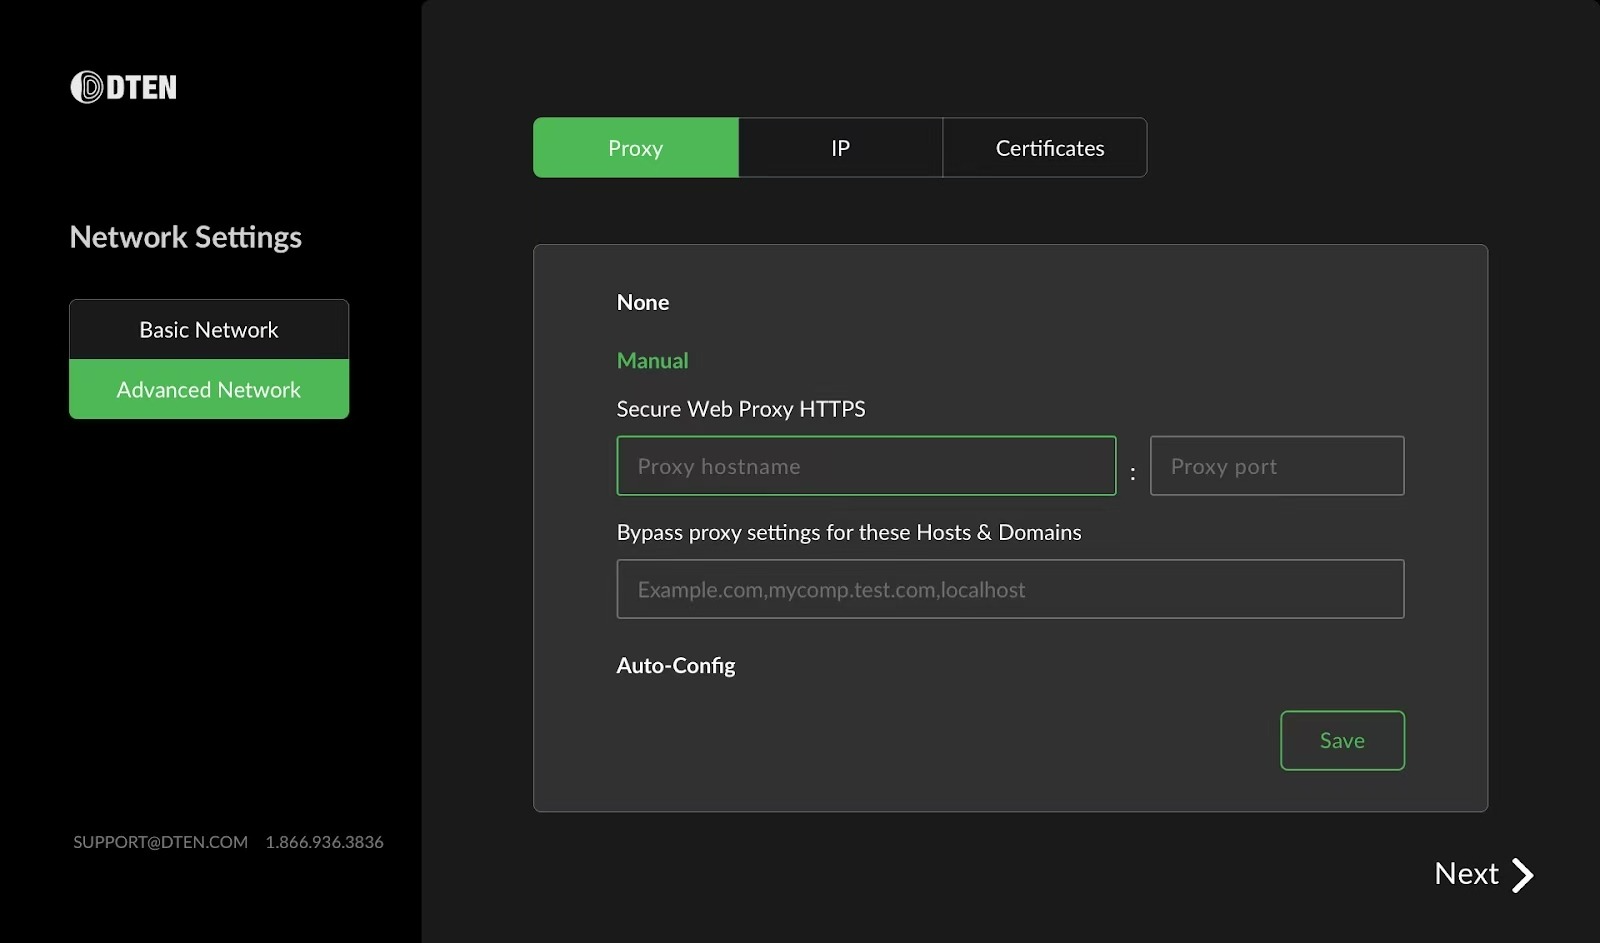
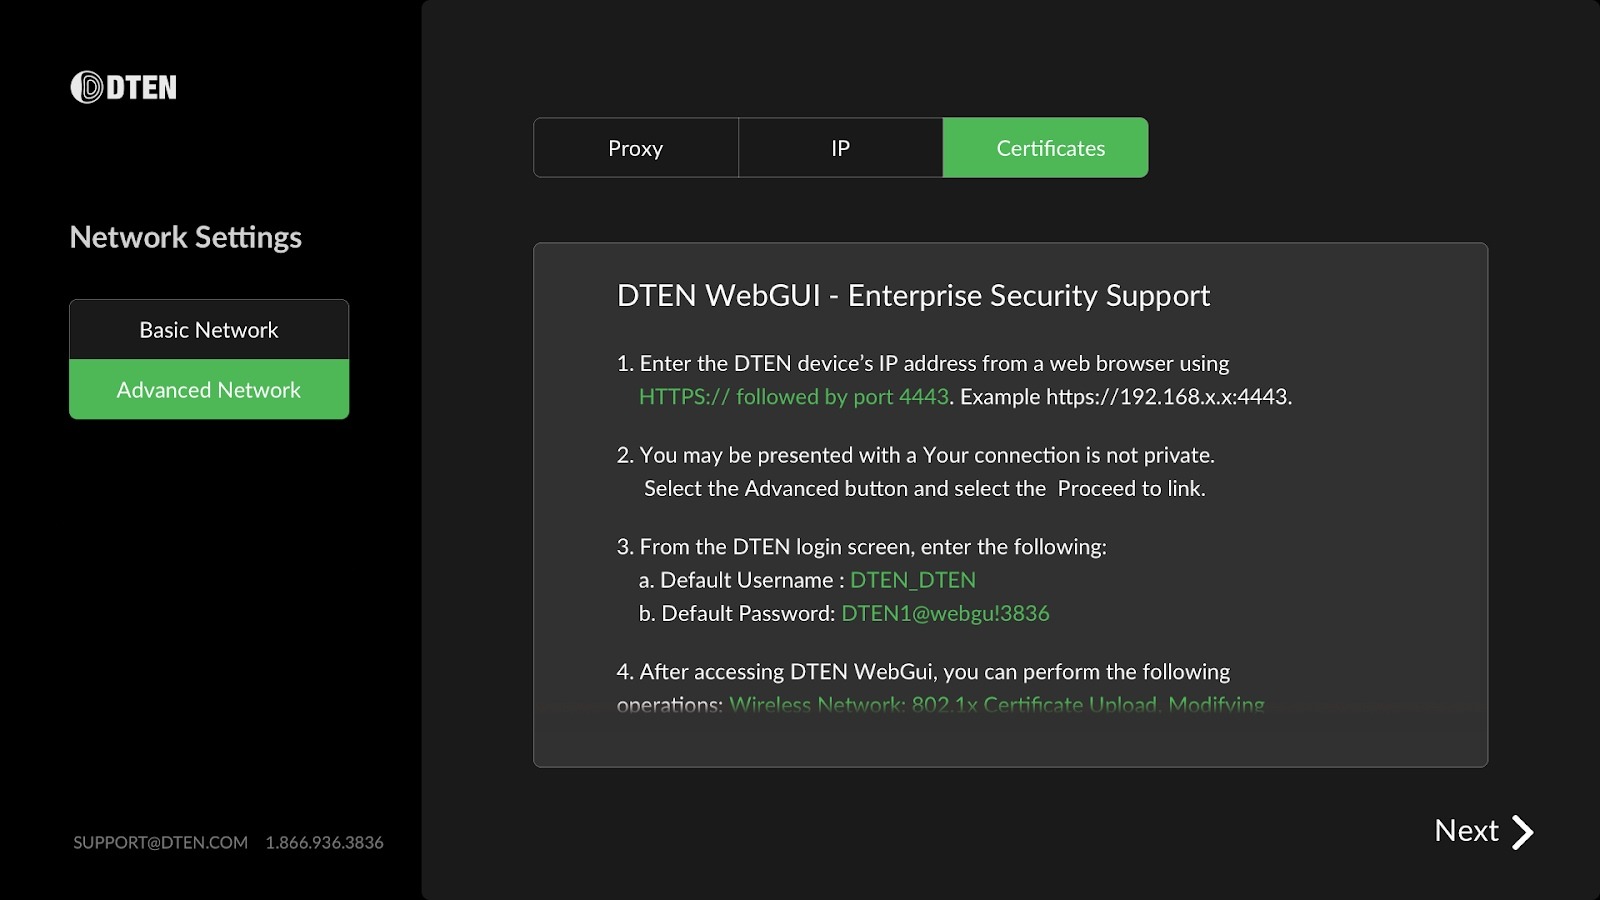
3. Enterprise 802.1X Authentification
The “802.1X" tab provides DTEN WebGUI - Enterprise Security Support instructions. If your enterprise network requires uploading certificates such as 802.1, you can remotely access the device through DTEN WebGUI and upload the certificates. Click "Next" to proceed to the next step.
Localization & Mandatory OTA Updates
1. Timezone
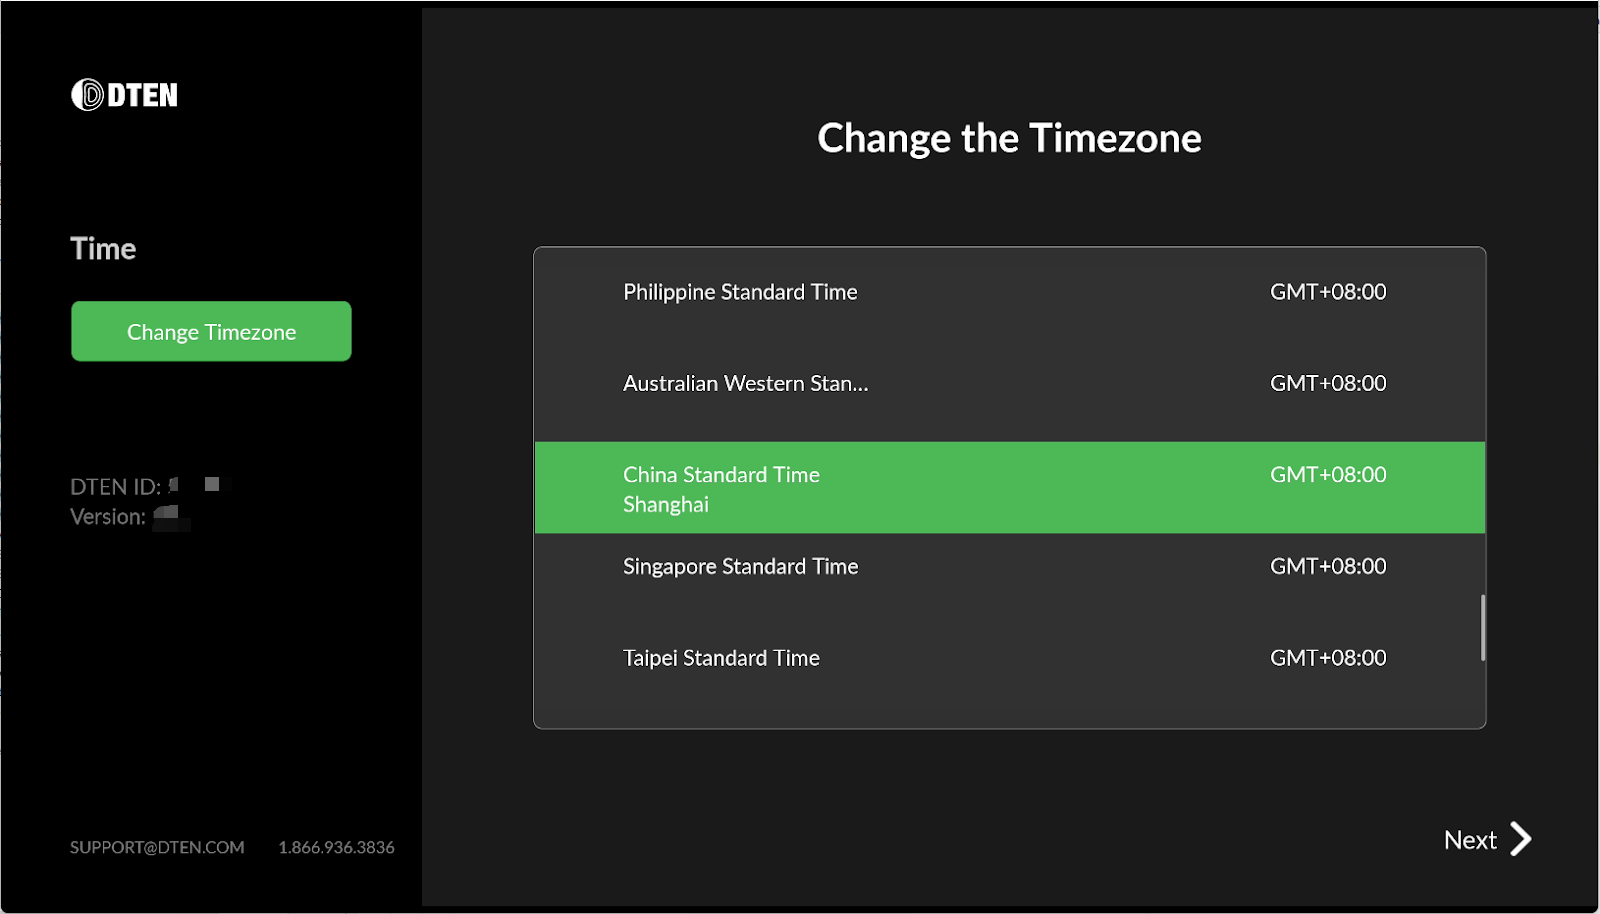
The device automatically sets the time zone based on its IP address and defaults to a 12-hour clock format. If you prefer the 24-hour clock format, you can manually select it. Click the "Change Timezone" button on the left to adjust the time zone. A list of time zones will appear, allowing you to choose the one that fits your location. After making your selection, click the "Next" button to proceed. 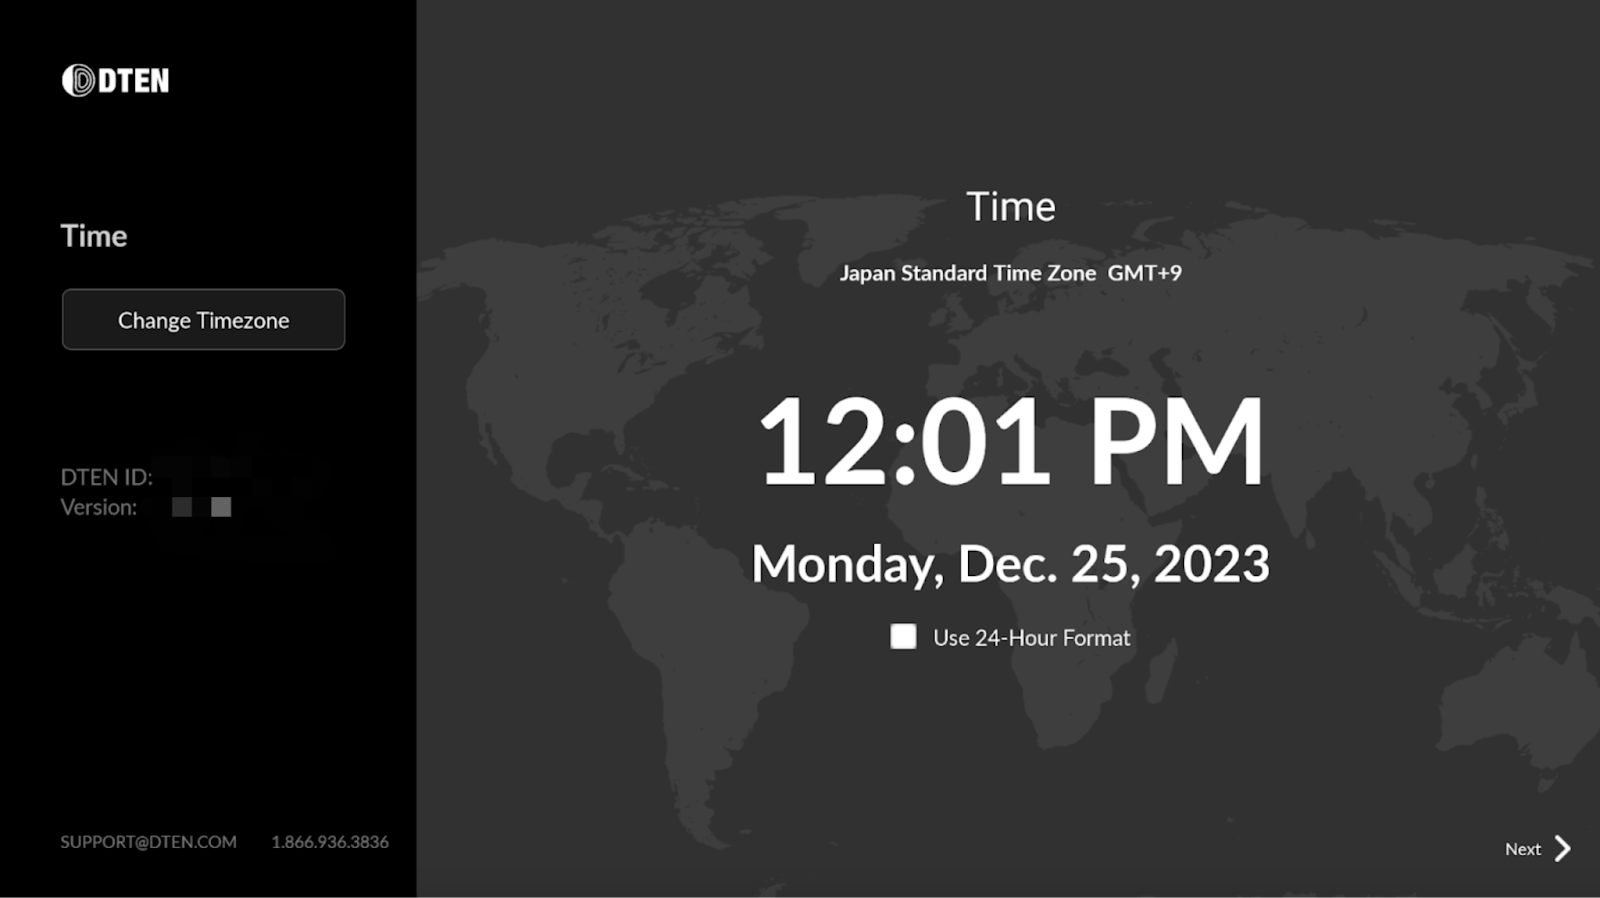
2. Out-of-box Software Update
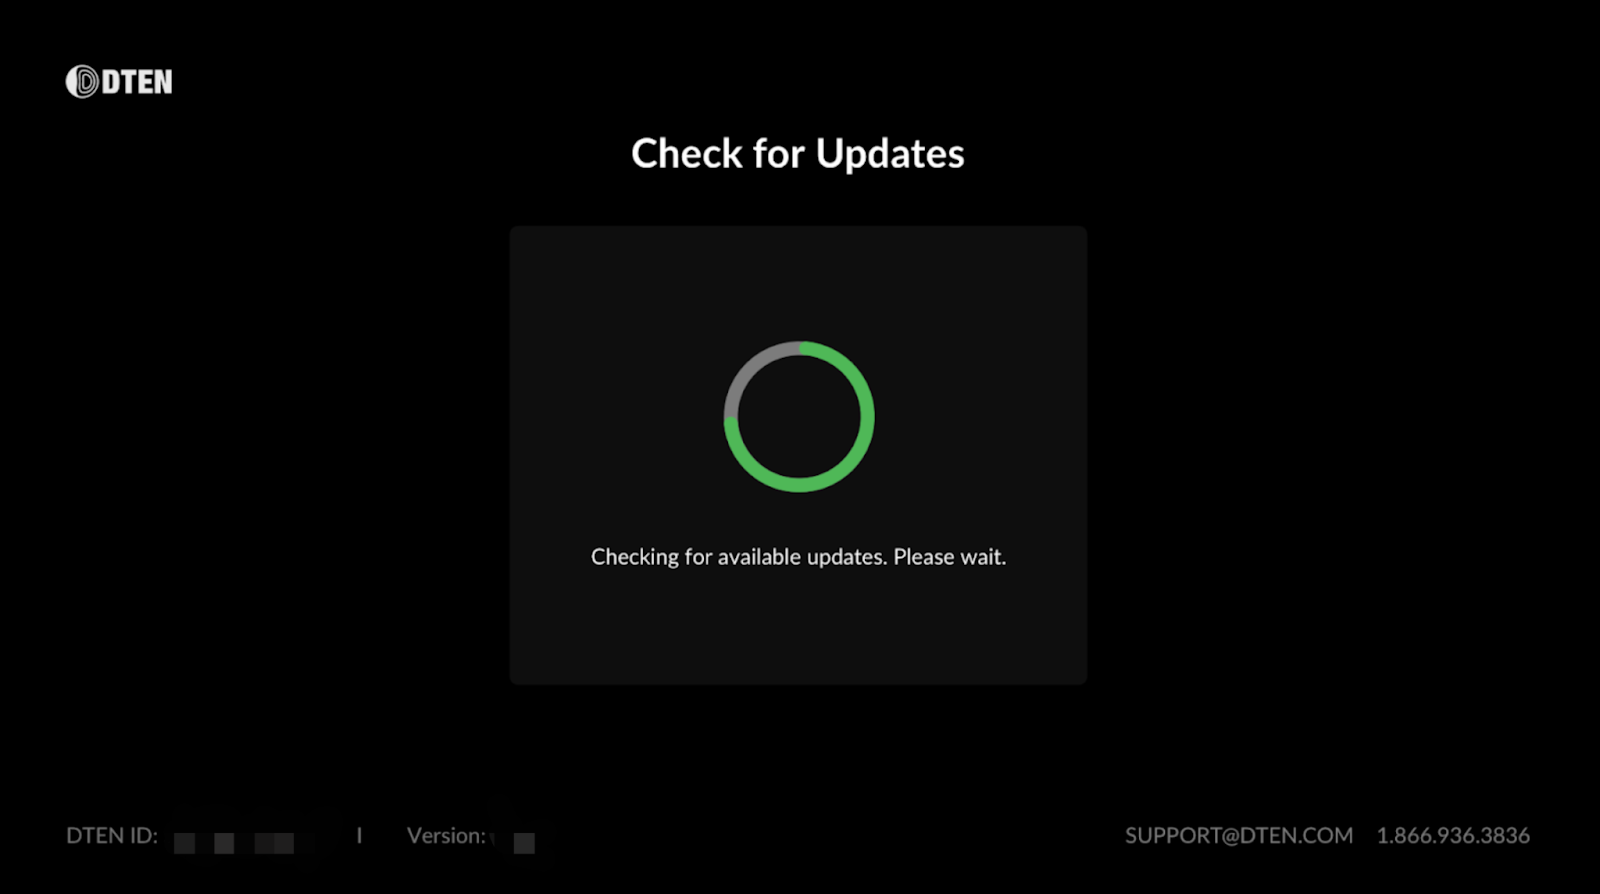
The system will automatically check for any available updates for the device during this step, which may take up to 30 seconds to complete.
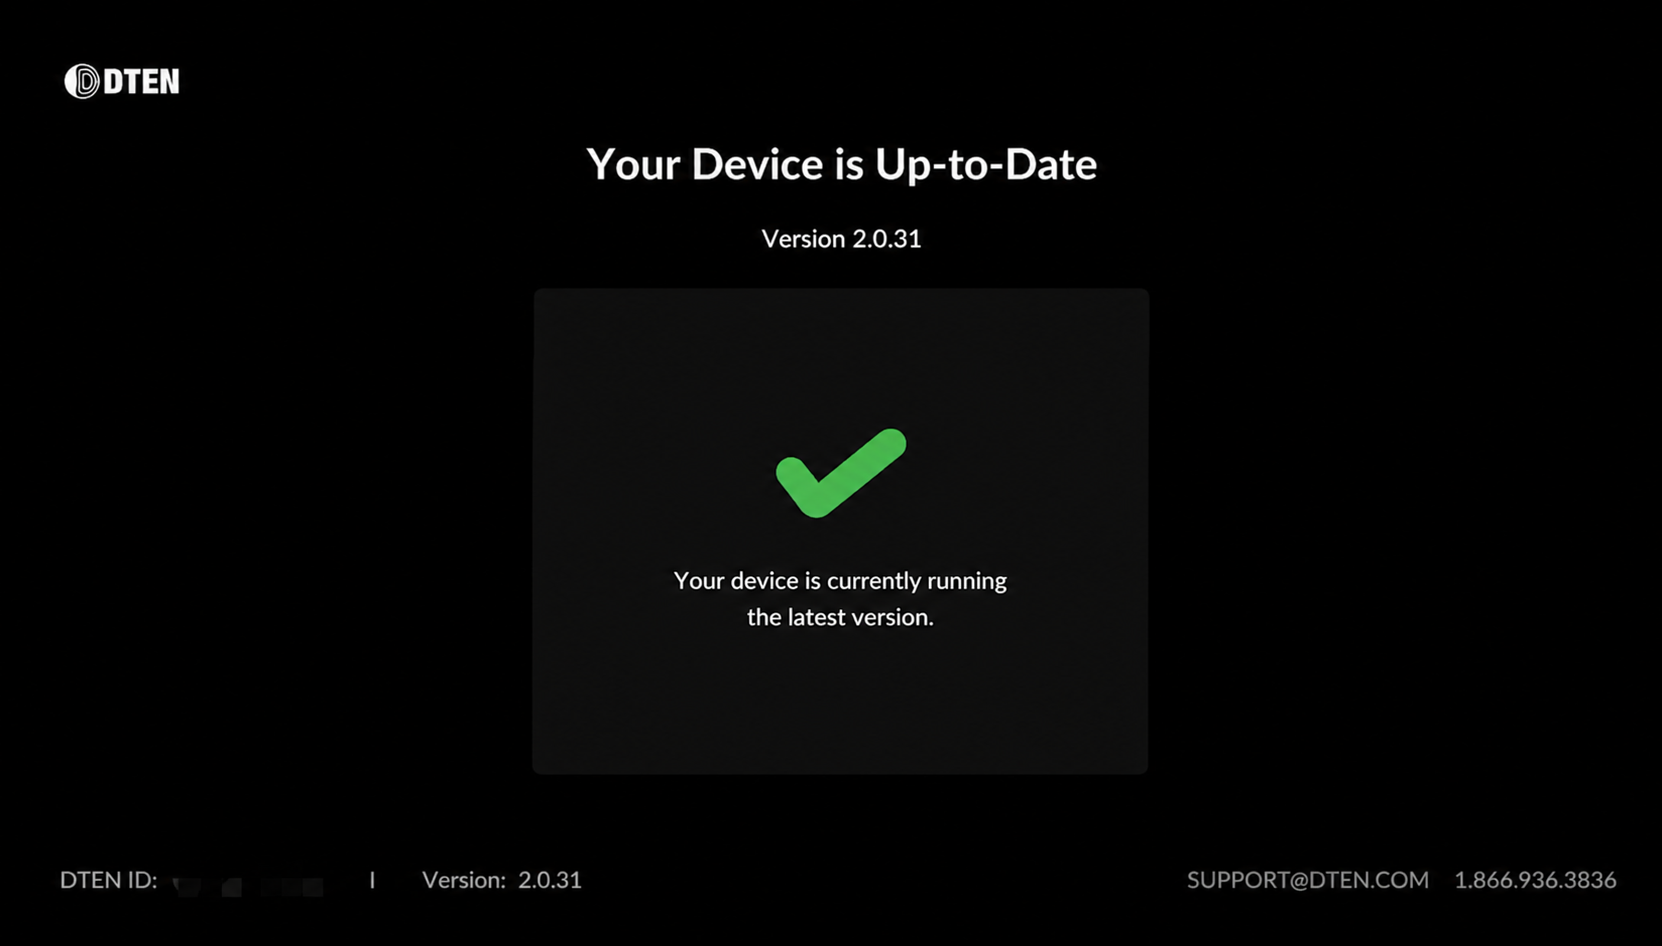
If your device is up to date, the following message will appear on your screen and automatically vanish after 5 seconds.
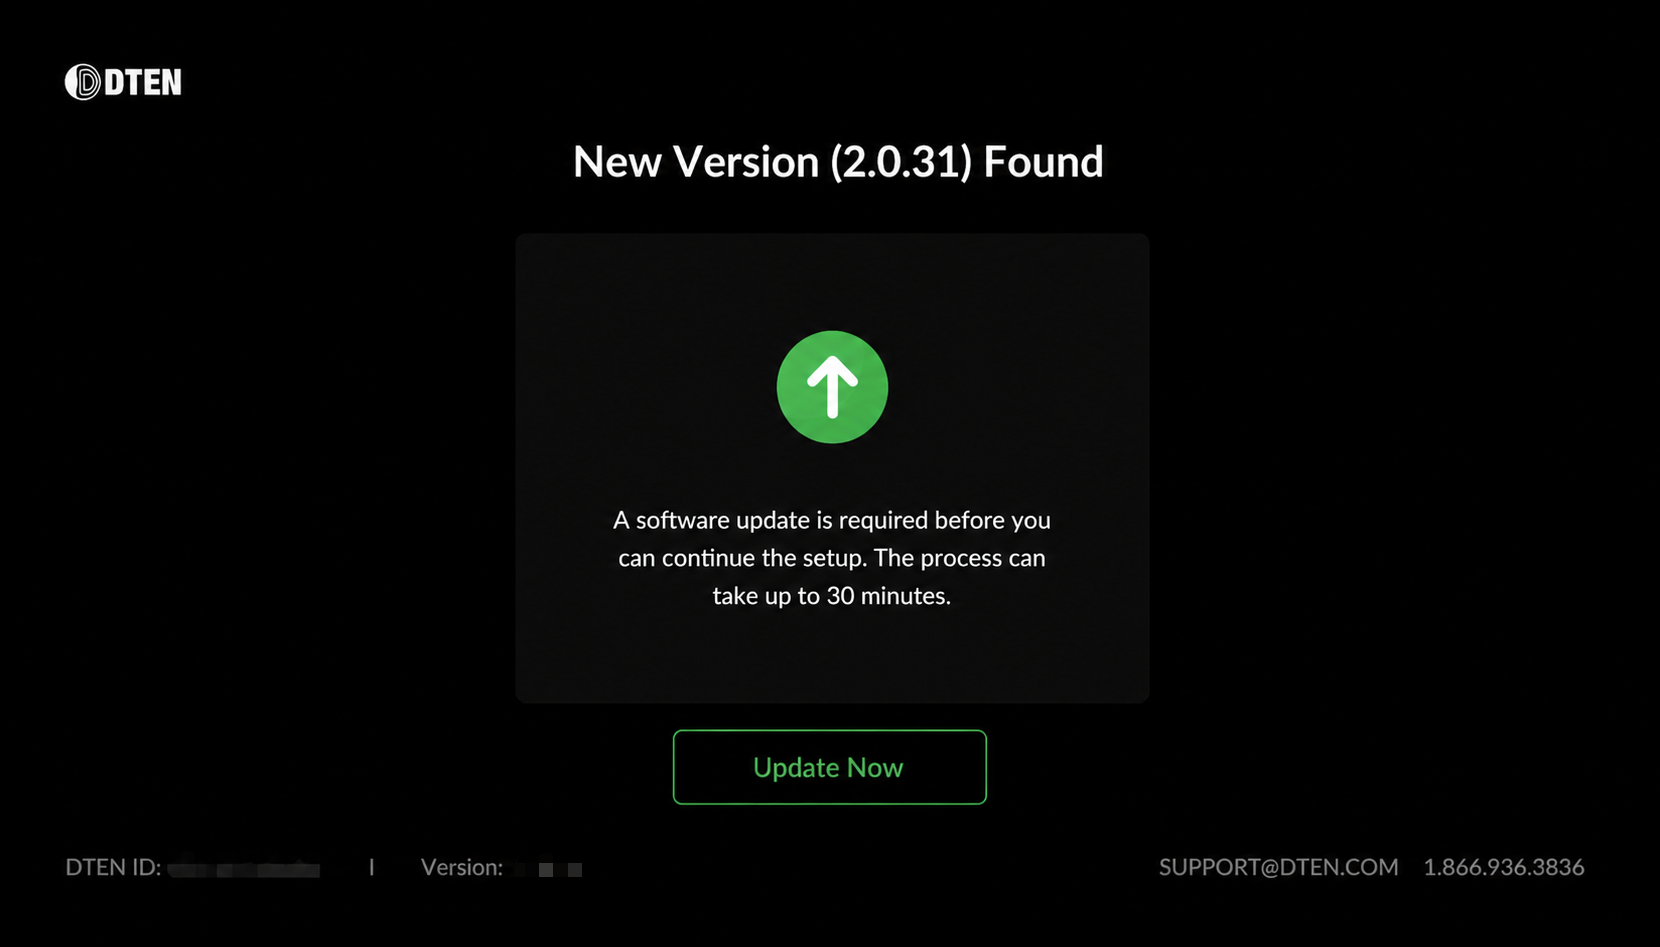
New Version Found: If a new firmware version is available for your device, you will be directed to this page to initiate the update. Simply click on "Update Now".
Zoom Rooms Setup
After completing the initial device setup and connecting to the network, the D7X 27 will automatically launch Zoom Rooms and prompt you to sign in.
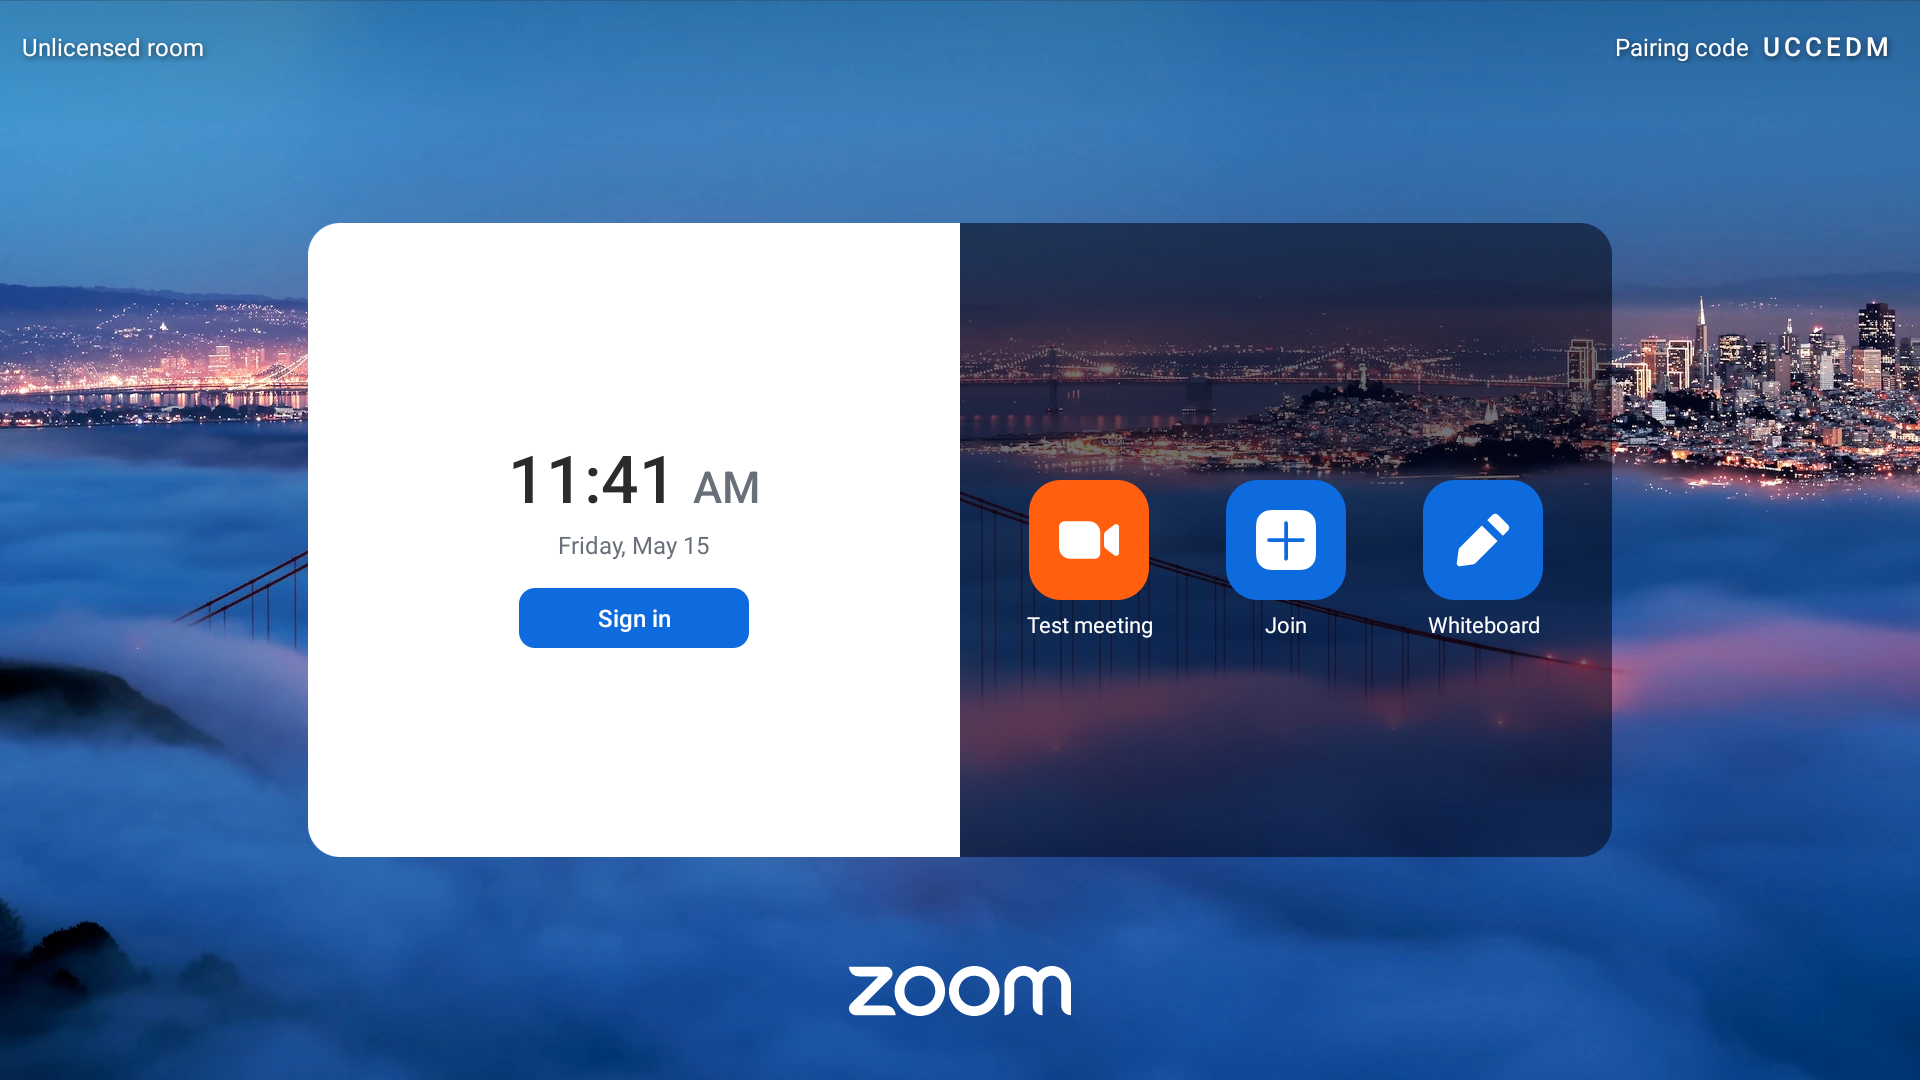
The following sign-in methods are supported: Signing in to Zoom Rooms.
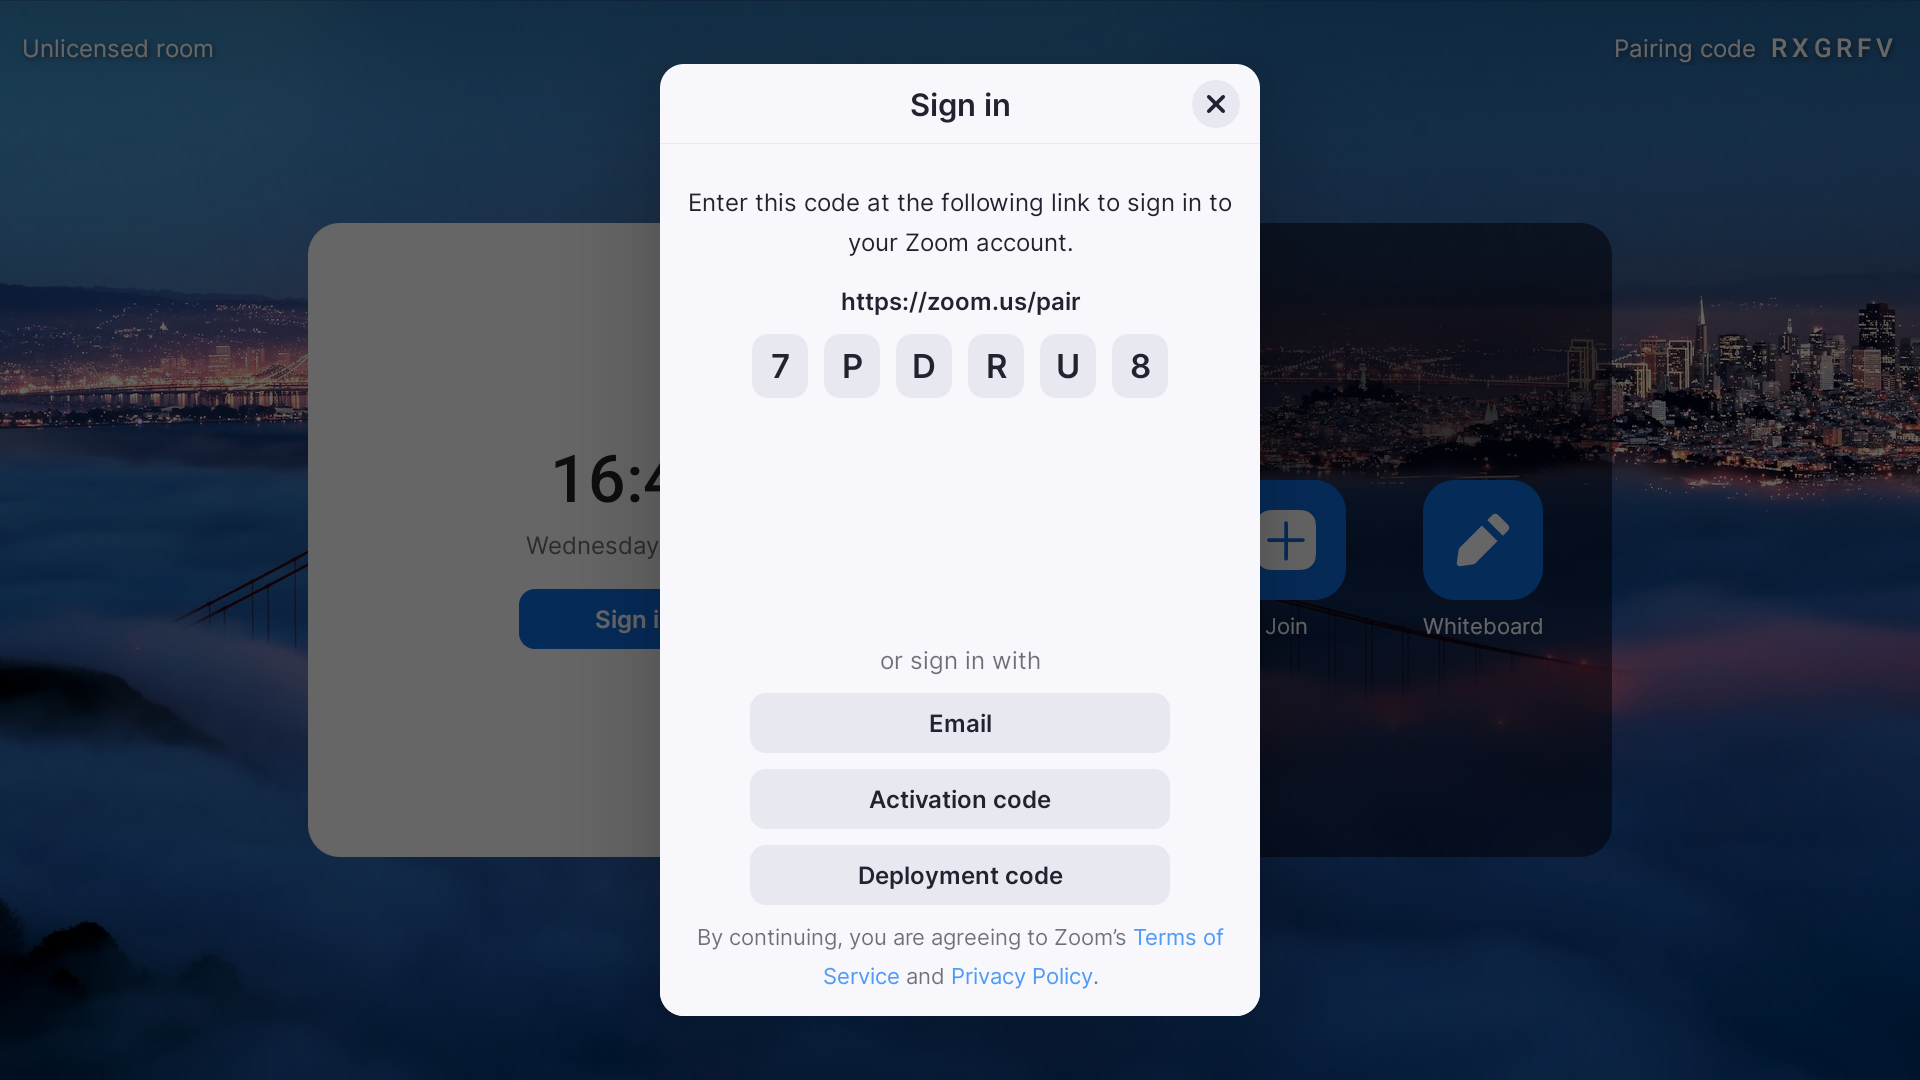
Sign in with Email
On the Zoom Rooms sign-in screen, select Email. Enter your Zoom account email address and password.
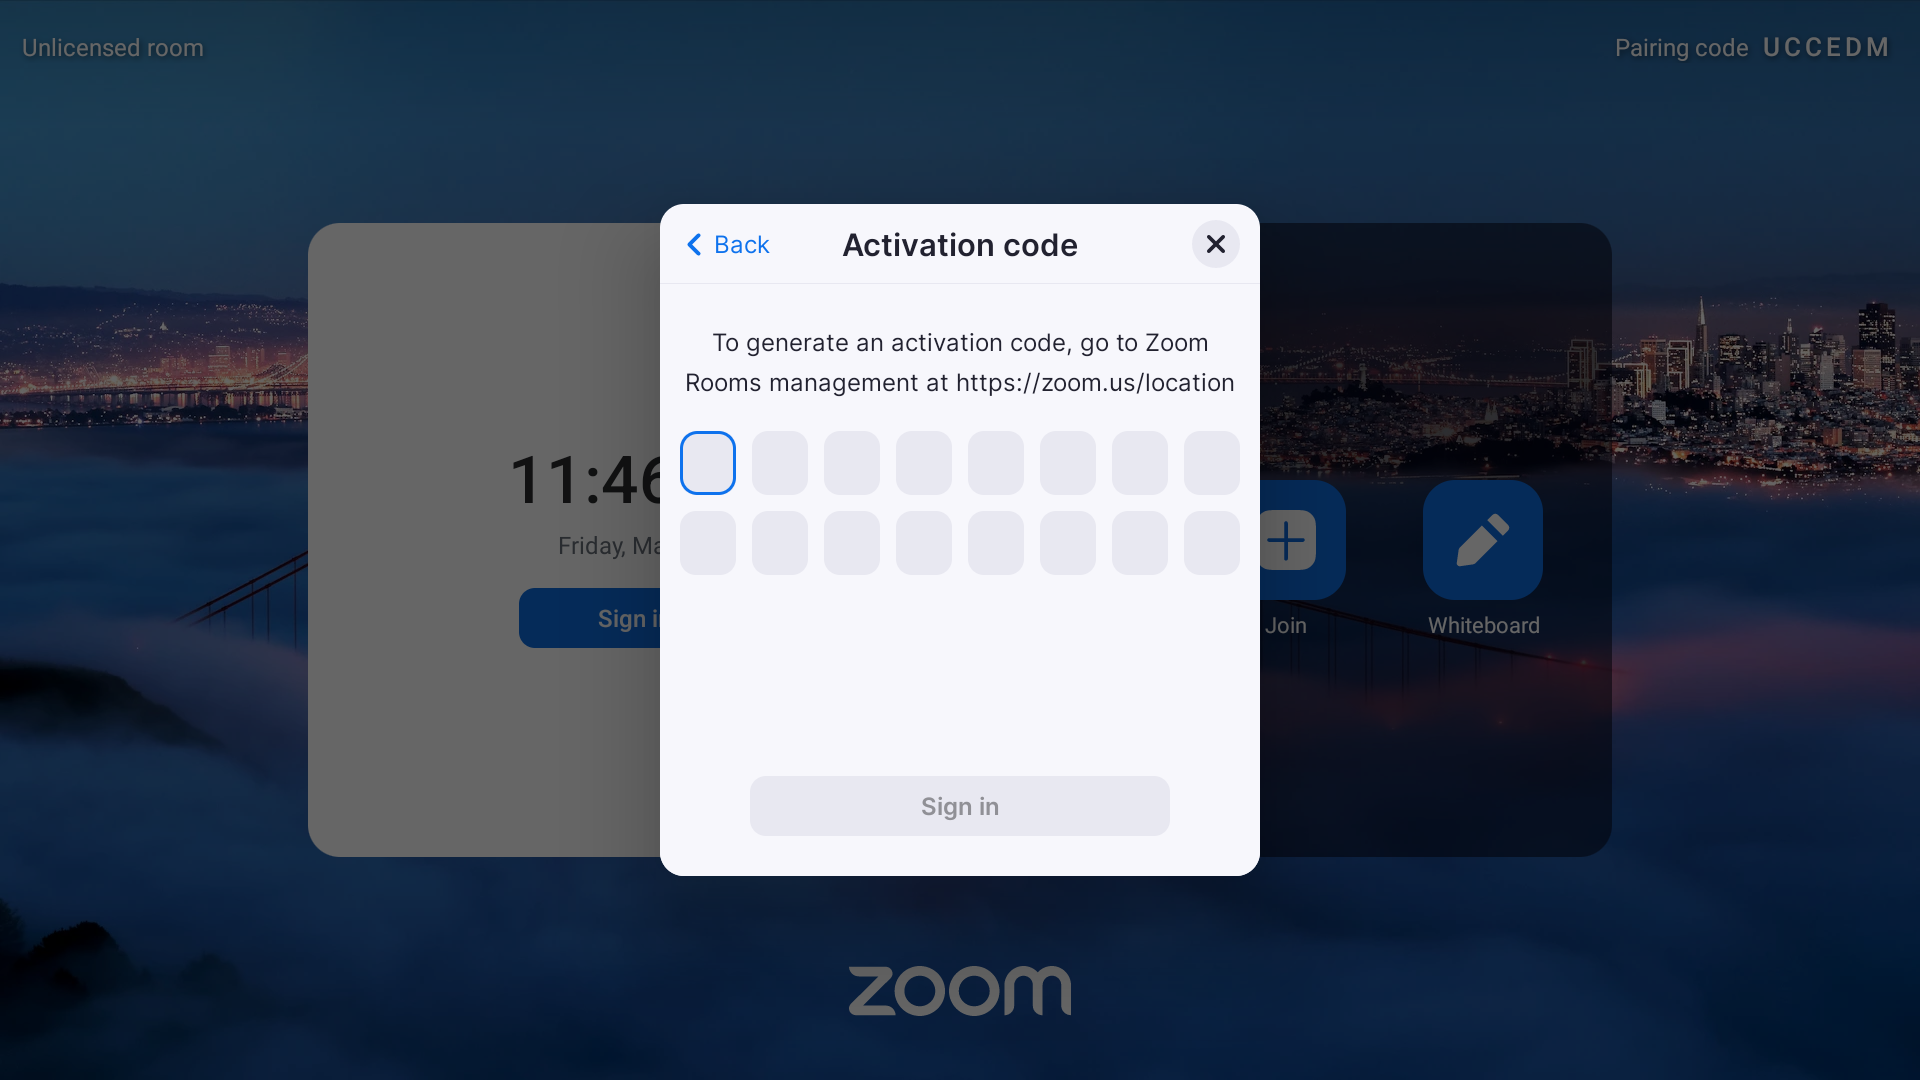
Activation Code
Sign in to the Zoom Web Portal as an account owner, administrator, or a user with permission to manage Zoom Rooms. Then navigate to Room Management > Zoom Rooms, then create a Zoom Room if one has not already been created. Locate the Activation Code for the Zoom Room in the Activation Code column.
Deployment Code
For enterprise environments, a Deployment Code can be used to provision multiple devices efficiently. You need to obtain a Deployment Code from your Zoom administrator. On the DTEN D7X 27, select Deployment Code on the Zoom Rooms sign-in screen. Then the device will automatically connect to the Zoom cloud and retrieve its provisioning configuration.
If you have additional questions or need to contact DTEN Support, please refer to this DTEN Knowledge Base article for more details: HERE.
Was this article helpful?
That’s Great!
Thank you for your feedback
Sorry! We couldn't be helpful
Thank you for your feedback
Feedback sent
We appreciate your effort and will try to fix the article