Overview
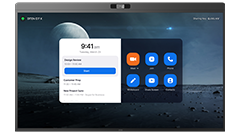
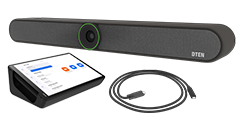
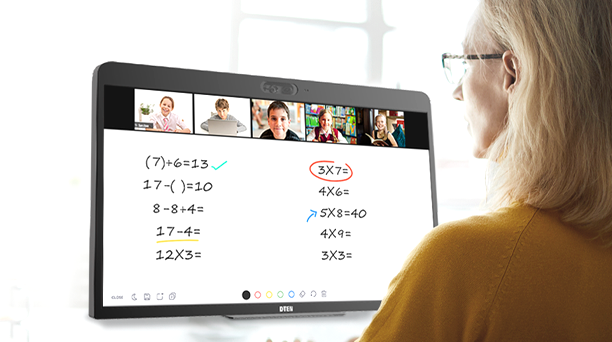
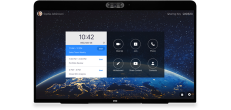
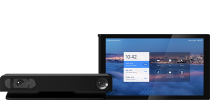
The DTEN Vue Pro cameras seamlessly integrate with users’ current D7X Windows setup, enhancing clarity and coverage at distance with no distortion. These cameras are strategically positioned at lower levels on the sides, facilitating eye contact with remote attendees and elevating the overall meeting experience. This guide will help you install and set up your Vue Pro Cameras smoothly.
Supported Products
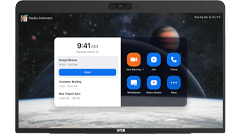
- DTEN D7X Windows Edition with DTEN 3.4.2 or above
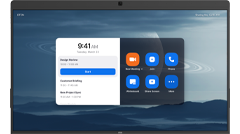
- DTEN D7X Dual with DTEN 6.4.5 or above (Zoom Smart Gallery Only)
Designed Use Cases
Use Case 1 - Spotlight Individuals via Zoom Smart Gallery
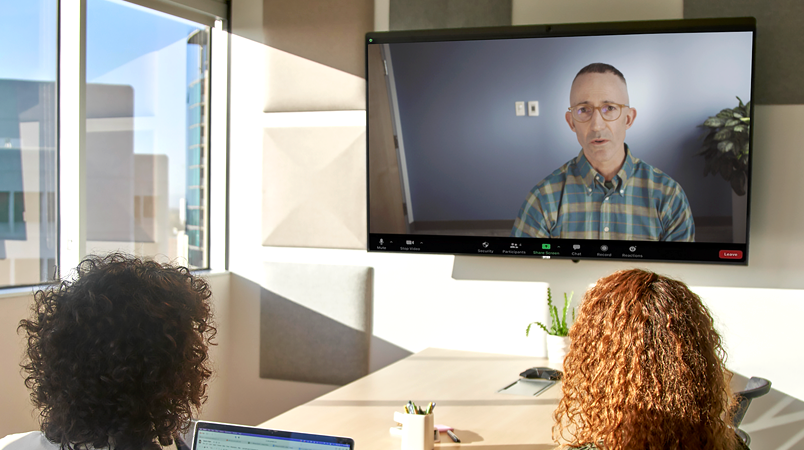
Meeting participants can engage the Zoom Smart Gallery feature with Vue Pro cameras so that everyone has an equal and clear representation on the screen while providing a full view of the conference room, making everyone feel more included and involved in the ongoing discussion.
Use Case 2 - Capture Specific Individuals in Zoom Meetings
Conference facilitators can utilize the Vue Pro cameras with the multi-camera mode in Zoom meetings so that they can spotlight local VIP attendees and enhance their visibility, thereby ensuring their prominent participation and engagement in the meeting.
Use Case 3 - Enhance Details in Zoom Meetings with Camera Content Share
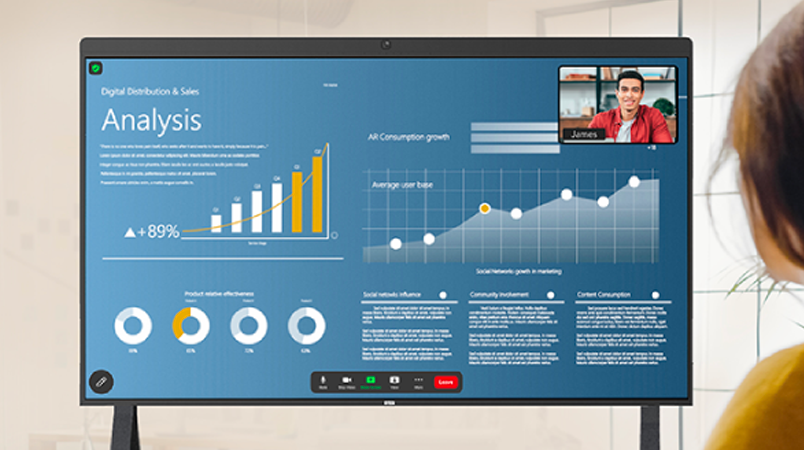
Participants in the room can leverage the Vue Pro cameras along with Zoom's Camera Content Share feature. This allows participants the ability to emphasize specific local content, including products, physical documents, or a whiteboard session. By broadening the types of content that can be shared during a Zoom meeting you will be adding versatility and depth to the session.
Setup Instruction
Mounting
If your D7X Windows device has camera mounts:
Install the DTEN Vue Pro cameras by seating them direct on the mounting tab.
If your D7X Windows device does not have camera mounts:
Scan the QR code inside the box or visit https://guide.dten.com/dten_vue_pro to install the bracket and cameras to your D7X Windows devices.
Set up your Vue Pro cameras on D7X Windows
Whenever you install the Vue Pro cameras or reset your D7X Windows device, the D7X Windows will automatically prompt you to set up the Vue Pro cameras.
This setup process ensures that the cameras are configured correctly and allows you to adjust their views to capture participants optimally.
Additionally, during this setup, you will be introduced to the various use cases of Vue Pro cameras to enhance your video conferencing experience.
Follow the on-screen instructions to complete the setup and you can configure the room settings for meetings on Zoom Web Portal with Admin access if needed.
Start enjoying seamless and high-quality video interactions with your Vue Pro cameras on the D7X Windows device.
Note: If you need to modify the view of Vue Pro cameras, you can access the settings menu located on the dashboard to make any adjustments.
Known Issues
- If you bypass the on-screen setup procedure, you might encounter repeated appearances of the virtual keyboard on your screen. To resolve this, please proceed to reconnect the Vue Pro cameras in order to restart the setup process.
If you have additional questions or need to contact DTEN Support, please refer to this DTEN Knowledge Base article for more details: HERE.







Comments
0 comments
Please sign in to leave a comment.